 1.
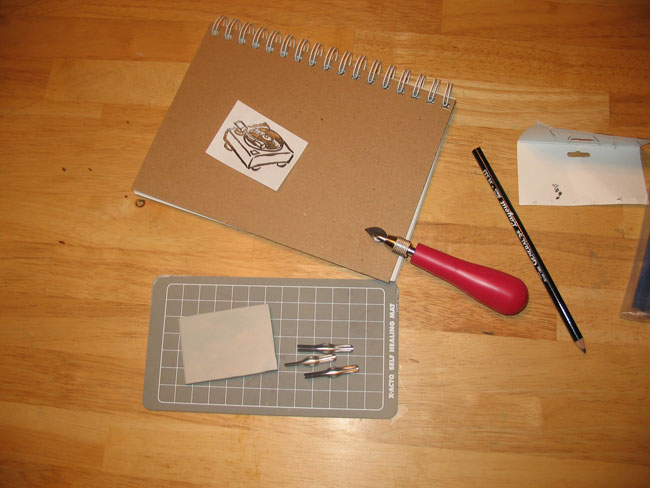
1. O.K. so I gathered together all my supplies: Speedball lino cutter, Soft-Kut, cutting mat, pencil, and mirror image (reduced to planned size). Note: If you draw onto your cutting medium, be it eraser, lino, whatever, you would want to create a mirror image of what you wanted to stamp. However, I didn't think through the transfer process. If you transfer an image, you want the image to be oriented as you would like the stamp, because when you transfer it, it will be a mirror image. I hadn't thought that through prior to starting.
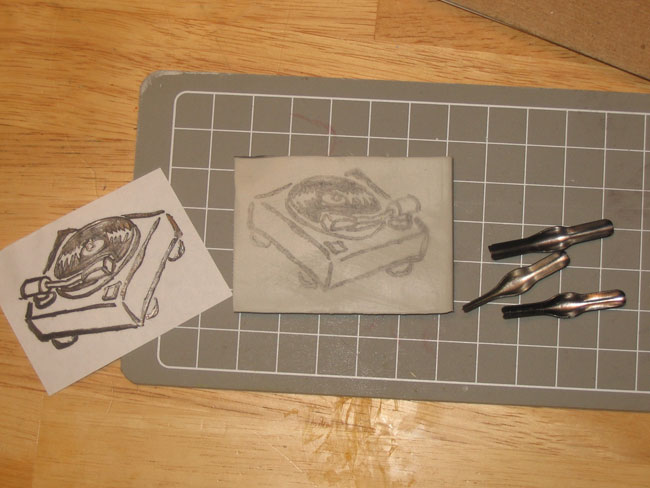 2.
2. For a great visual tutorial on stamp carving look at
inky squid's flickr set. I basically colored all the lines in my image with graphite. I used a sketch pencil, but I think any pencil would work. These are the parts of the image that will be transfered. I leave the lines and cut out the empty space. Some people may prefer to do it differently. Once all the lines are covered, place the image (face down) on your cutting medium. Then use a bone folder or spoon (this is what I did) and burnish (rub) the back of the entire image. I honestly did not expect this to work. I sort of half-heartedly rubbed the back of the image and it still worked great. I had considered an acetone transfer but that just seemed to messy for this application.
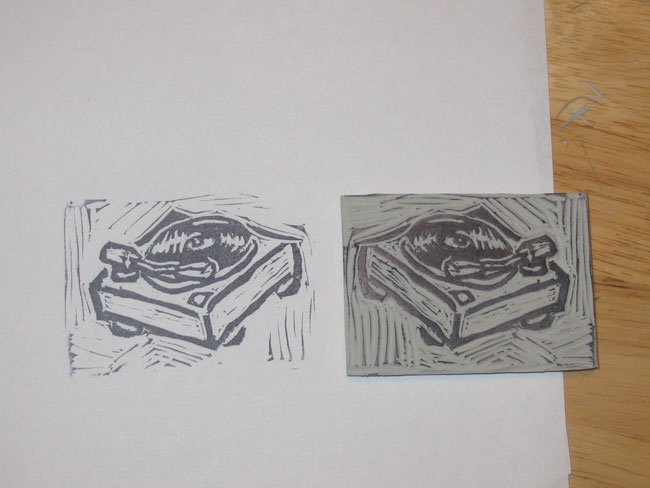 3.
3. This is a test stamp following the initial carving. I actually liked the "woodcut" look of this, but had plans for something cleaner. So, I kept carving. Because the soft-kut is so flexible, you have to be careful not to press too hard as this will result in lots of the deeper cuts coming through. I place a flat object on the back to get some nice, even pressure.
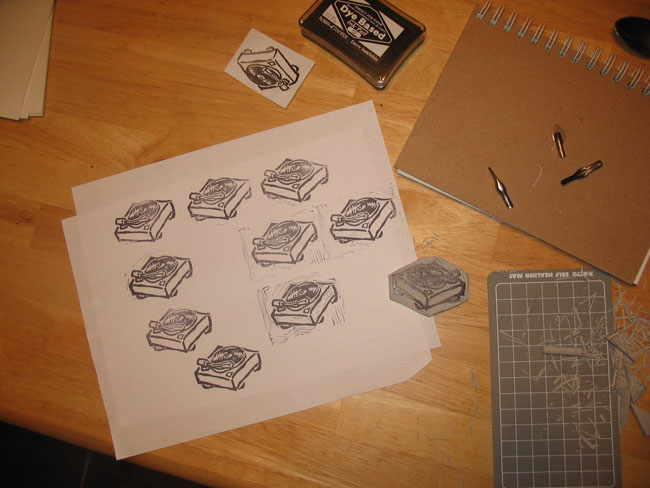 4.
4. Here is my sheet of test stamps. The process goes a little something like this. Cut, cut, cut...pause...cut. Stamp. Cut, cut, cut...pause...cut. Stamp. And on until you have the look you want.

![[title]](http://farm2.static.flickr.com/1215/1308394387_8d64c2293b.jpg)


![[title]](http://farm2.static.flickr.com/1231/1047951706_f51af88c61.jpg)


